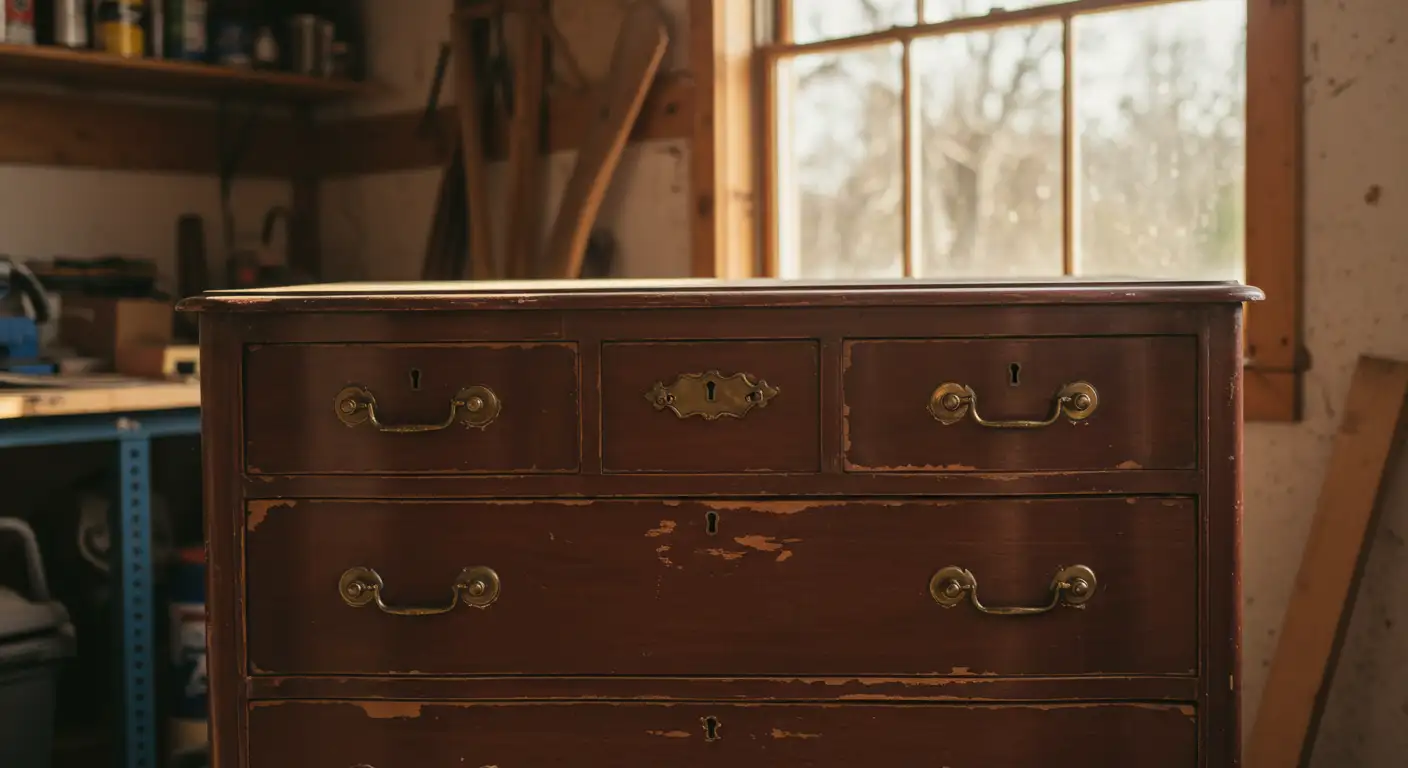
It all began with my grandmother’s old dresser, forgotten in the dusty garage. I remember moving my fingers along its damaged surface on a warm afternoon, wondering about how this furniture, which had seen and lived through so many moments, might have been.
The veneer was coming off in certain spots, and the handles were rusty, but the elegance of the curves caught my eye. It was during that time that I got into upcycling furniture.
I have been converting countless items for the past three years and have been undergoing the processes of trial and error while doing so. Let me take you through what I’ve discovered about breathing new life into old furniture, particularly for bedroom spaces where these pieces truly shine.
The First Steps: Learning the Hard Way
My first attempt at painting furniture was, frankly, a disaster. I was so excited to get started that I skipped proper preparation – a mistake I’ll never make again. That beautiful dresser? I just started painting directly over the old finish. Within weeks, the paint was peeling off in sheets, teaching me the invaluable lesson that preparation isn’t just a suggestion – it’s essential.

Essential Preparation Steps For Painted Furniture
- Surface Assessment Before starting any project, thoroughly examine the piece for:
- Structural integrity
- Loose joints or veneer
- Water damage
- Previous repairs
- Wood type and condition
- Cleaning Protocol
- Remove all hardware
- Clean thoroughly with TSP substitute
- Use mineral spirits for stubborn wax or oils
- Allow proper drying time (24 hours minimum)
- Surface Preparation
- Sand carefully, starting with 120-grit for damaged areas
- Progress to 220-grit for overall smoothness
- Pay special attention to edges and detailed areas
- Vacuum and tack cloth between sandings
- Priming Considerations
- Use high-quality bonding primer
- Consider tinting primer for dark final colors
- Apply thin, even coats
- Sand lightly between coats
Material Selection: A Cost-Benefit Analysis
Through extensive trial and error, I’ve developed a clear understanding of which materials are worth the investment:

Worth the Splurge:
- Quality brushes ($15-25 each)
- Professional-grade primer ($25-35/quart)
- Specialty topcoats ($20-30/quart)
- Quality sandpaper ($15-20/pack)
Save Your Money On:
- Designer chalk paint (make your own with plaster of Paris)
- Expensive stripping products (mineral spirits work fine)
- Specialized cleaning products (TSP substitute is sufficient)
- Fancy applicators (good brushes and foam rollers suffice)
Unexpected Discoveries
The biggest surprise in my furniture painting journey? The transformative power of hardware. Previously, I thought that the paint color was the most important, but now I am sure that the mood of a piece can be easily altered by replacing the handles and the hinges.
One could easily change the antique function by adding modern handles like a brass finish on the drawer pull. Or, break the traditional feel of a modern set with a touch of the past like old glass knobs.
Hardware Transformation Tips:
- Keep original holes when possible
- Test-fit new hardware before painting
- Consider plate backers for non-matching holes
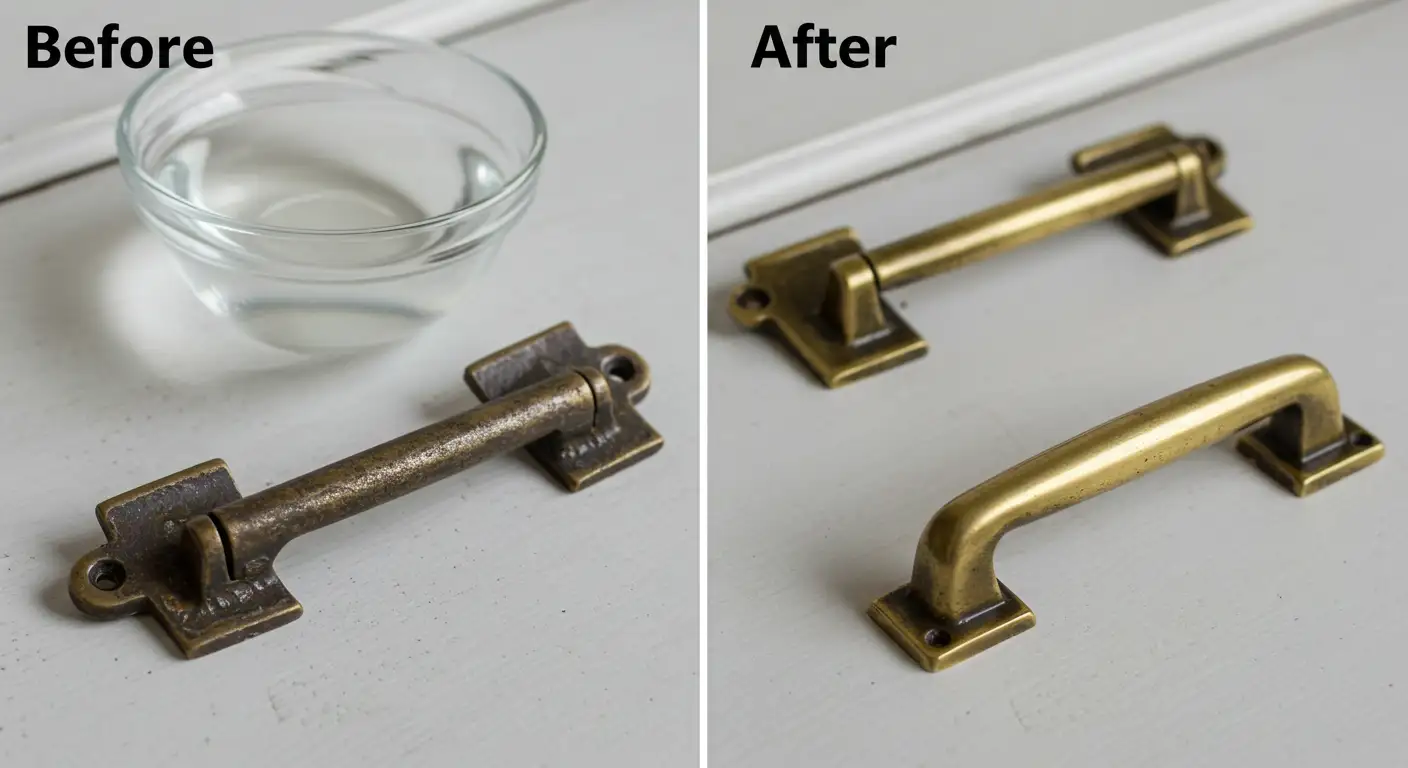
- Save vintage hardware by soaking in vinegar solution
- Mix and match for unique character
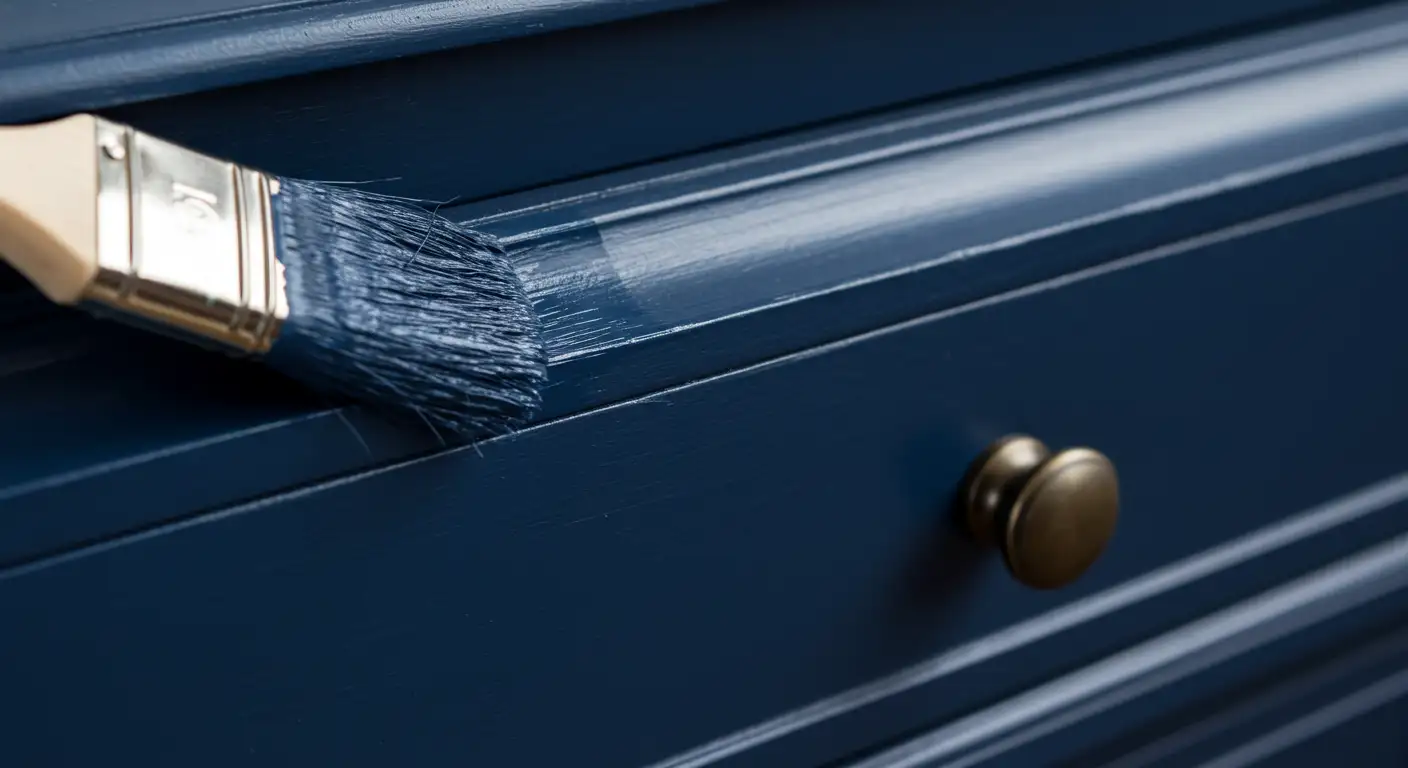
My most cherished redo project was a colorless pine nightstand I spotted at a garage sale for $15. After I cleaned and applied the primer, I painted it by using a beautiful blue chalk paint, the edges were distressed to a certain extent, and antique bronze handles were added to it.
It is a piece that stands out, but ironically, the price of making it was less than $40, which is less than what a normal product from an upmarket shop costs.
Advanced Techniques for Lasting Results

Paint Application Secrets
After dozens of projects, I’ve refined my painting technique:
- Use long, smooth strokes in one direction
- Thin coats are better than thick ones
- Allow proper drying time between coats
- Consider temperature and humidity
- Work inadequate lighting
Best Paint Finishes for Different Styles:
- Chalk Paint
- Perfect for: Farmhouse, French country, shabby chic
- Pros: Excellent coverage, no primer needed
- Cons: Requires waxing or sealing
- Cost: $30-40/quart
- Milk Paint
- Perfect for: Colonial, primitive, authentic antique looks
- Pros: Non-toxic, deep penetration
- Cons: Unpredictable results
- Cost: $20-25/pint
- Satin Finish Paint
- Perfect for: Modern, contemporary, transitional
- Pros: Durable, easy to clean
- Cons: Requires thorough preparation
- Cost: $25-35/quart
Common Problems and Solutions
Issue: Bleed-through
Solution:
- Apply shellac-based primer
- Multiple thin coats
- Allow complete drying between coats
Issue: Brush Marks
Solution:
- Use Floetrol paint additive
- Apply with a foam roller
- Sand between coats
- Use quality brushes
Issue: Peeling Paint
Solution:
- Proper surface preparation
- Quality primer
- Adequate drying time
- Environmental conditions control
Specialized Techniques for Different Wood Types

Oak
- Fill grain with wood filler
- Extra sanding required
- Multiple primer coats
- Consider grain enhancement techniques
Pine
- Seal knots with shellac
- Light sanding between coats
- Watch for bleed-through
- Consider wood conditioner
Mahogany
- Test for oil content
- Thorough cleaning required
- Quality primer essential
- Multiple thin coats
Color Selection Strategies
For Small Spaces:
- Light colors to expand space
- Consider room lighting
- Test colors at different times
- Account for existing décor
For Statement Pieces:
- Bold colors for focal points
- Consider the room color scheme
- Test multiple samples
- Think about long-term appeal
Professional Secrets for Custom Finishes
Glazing
- Use oil-based glazes for longer working time
- Apply in sections
- Work quickly
- Keep strokes consistent
Distressing
- Focus on natural wear points
- Use multiple techniques
- Consider piece history
- Don’t overdo it
Color Washing
- Thin paint appropriately
- Work in small sections
- Keep edges wet
- Layer for depth
The Economics of Furniture Makeovers

Average Project Costs:
Small Piece (Nightstand):
- Purchase price: $15-30
- Materials: $40-60
- Time: 4-6 hours
- Potential value: $150-200
Large Piece (Dresser):
- Purchase price: $50-100
- Materials: $75-100
- Time: 8-12 hours
- Potential value: $300-500
Looking Forward
These days, I approach each piece with both excitement and respect for the process. I’m still learning – and right now I’m testing different glazing techniques to show the feeling of a different dimension – to space and depth along painted surfaces.
I am especially captivated by the potential of the transformation of a single color into different pieces, such as accenting lines with color blocking.
Current Trends Worth Exploring:
- Two-tone finishes
- Textured effects
- Metal leaf accents
- Custom color mixing
- Geometric patterns
For a novice in the sphere of furniture painting, keep in mind: that each failure or “error” is a valuable lesson that you learn and grow from. It’s the process of learning to work with the wood.
For example, sanding and oiling are essentials. Use small pieces for experimentation, and be bold enough to implement different ideas, but first of all, then rely on your creativity. Practicing more and being more patient will naturally bring out your style.
Final Thoughts
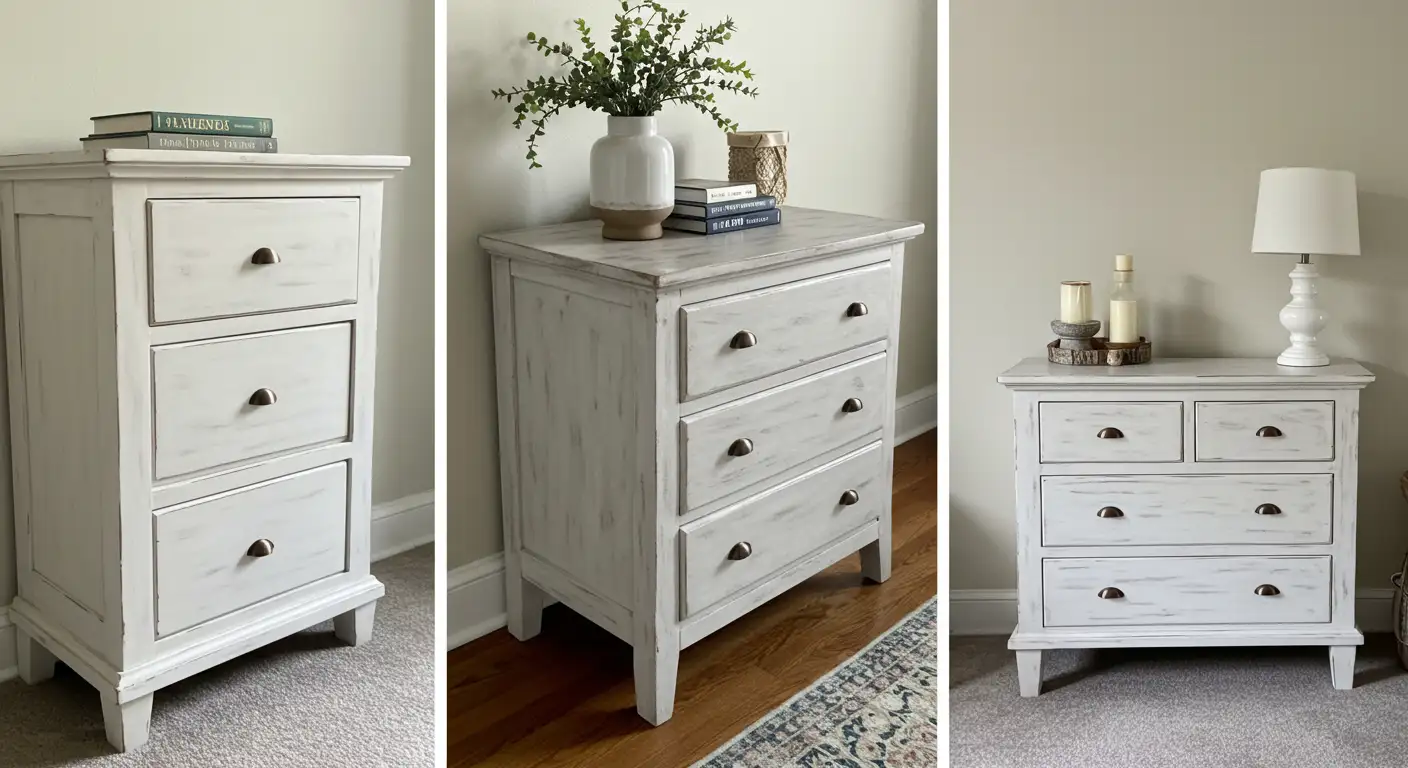
While I’m sitting here typing this, the first dresser is right in front of my eyes – this time painted in a greige color with a newly polished original metal piece.
It’s not perfect, but it’s a record of the realization that learning, progress, and the joy of recovering beauty from the forgotten are the only things that matter in life. Every piece of furniture is but a treasure waiting to be found by someone who can peer into its very soul and see it for what it could become.
The most important lesson that I’ve learned is not about tools or materials – it’s about patience. Taking the time to do things correctly, learning from every project, and persisting in the needed cases have made the biggest contribution to my improvement. Whether you are a beginner or a veteran in furniture refinishing, you are always learning new things.
FAQs
Q: How long does painted furniture last?
A: With proper preparation and high-quality materials, painted furniture can last 8-10 years or more. Key factors include:
- Quality of primer and paint used
- Proper surface preparation
- Regular maintenance
- Indoor vs. outdoor placement
- Level of daily use
Q: What’s the best paint for bedroom furniture?
A: For bedroom furniture, satin or chalk paint typically performs best because:
- Satin provides durability and easy cleaning
- Chalk paint offers excellent coverage and a designer look
- Both finishes are low-sheen, hiding imperfections
- These paints are available in endless color options
- They’re both suitable for various furniture styles
Q: Do I need to sand furniture before painting?
A: Yes, light sanding is essential for most pieces because it:
- Ensures better paint adhesion
- Removes surface contaminants
- Creates a smooth finish
- Helps prevent peeling
- Takes minimal time but maximizes results
Q: How much does it cost to refinish a dresser?
A: The average cost to refinish a dresser ranges from $100-200 in materials:
- Paint/primer: $40-60
- Sandpaper/prep materials: $20-30
- New hardware: $30-80
- Topcoat/finishes: $20-30 Plus 8-12 hours of labor if doing it yourself
Q: Can you paint furniture without removing old paint?
A: While possible, it’s not recommended because:
- New paint may not adhere properly
- The finish might be uneven
- Old paint can affect color accuracy
- Issues may arise later with peeling
- The extra prep time pays off in longevity